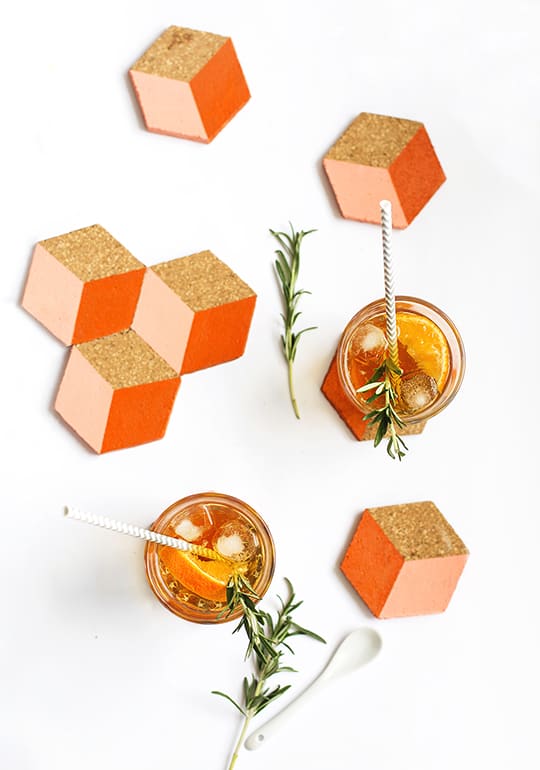
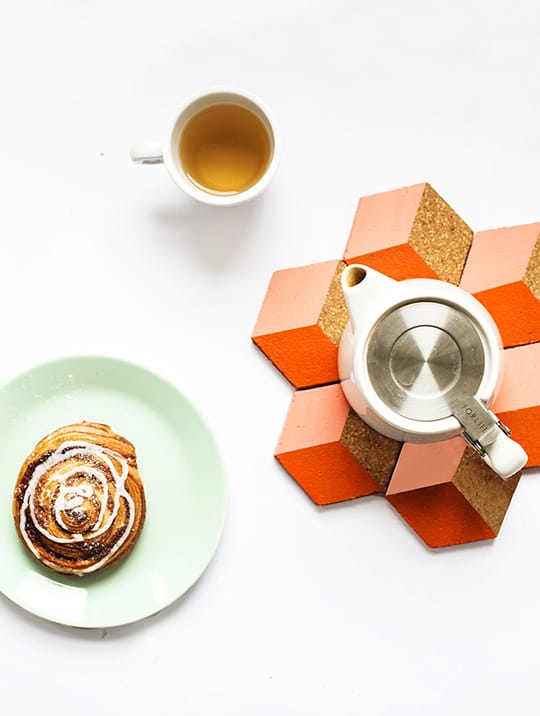
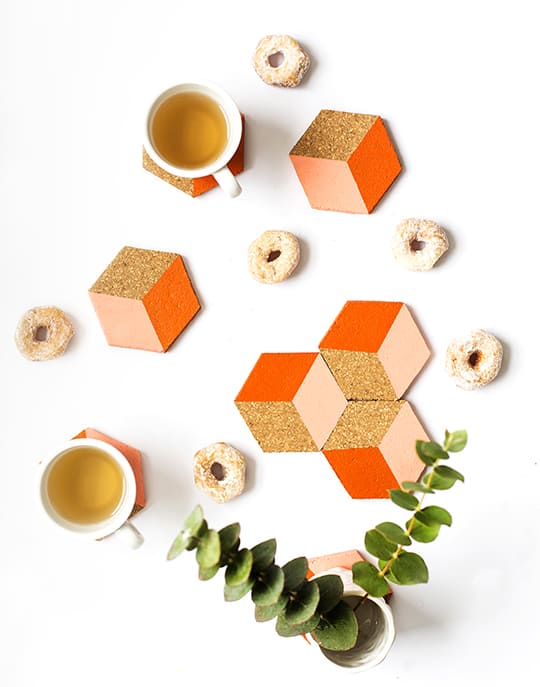
Hello fellow DIY enthusiasts, Teri here! Today’s project is oh so simple but has maximum impact for entertaining or just a casual rendezvous over tea for that matter. These DIY geometric coasters pack a punch and can be used individually or slotted together to create a patterned trivet for serving. It’s basically the cutest (and easiest) puzzle you’ll ever see!
Coasters can be dull but these will add a pop of custom color to your table, and I can vouch that once you’ve made one, it’s absolutely addictive! They also make great gifts for the holiday season too. Why not package up a stack with a matching ribbon and spread some patterned cheer?
I used cork 1/3 of an inch thick as a base to make sure the coasters didn’t curl up at the edges but anything above 1/4 of an inch should be fine. To make the whole tutorial even more straightforward, I’ve even made a downloadable scaled template for you to use.
- Craft paint in 2 colors or mix your own
- paint brush
- cardstock
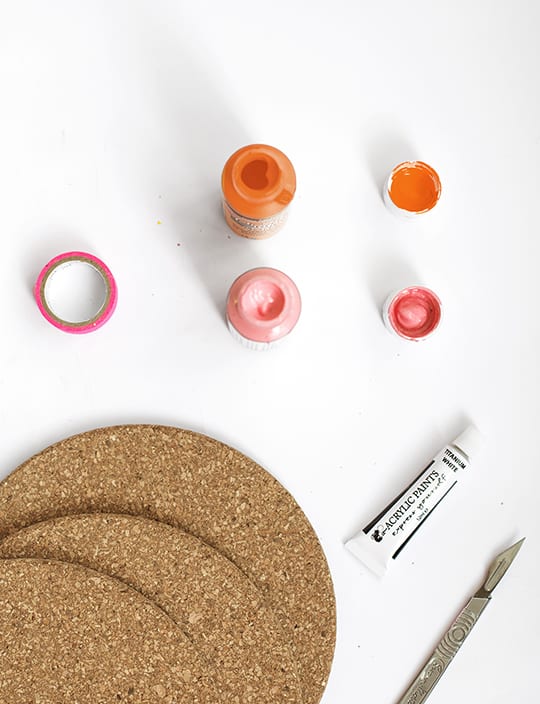
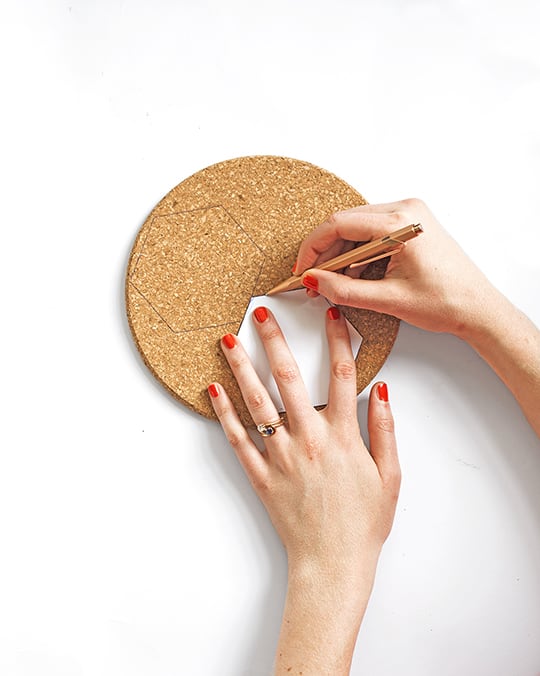
Start by printing out the hexagon template onto card and then cut around the outside with a scalpel / craft knife. Use this to draw around with the pen, onto your cork sheets.
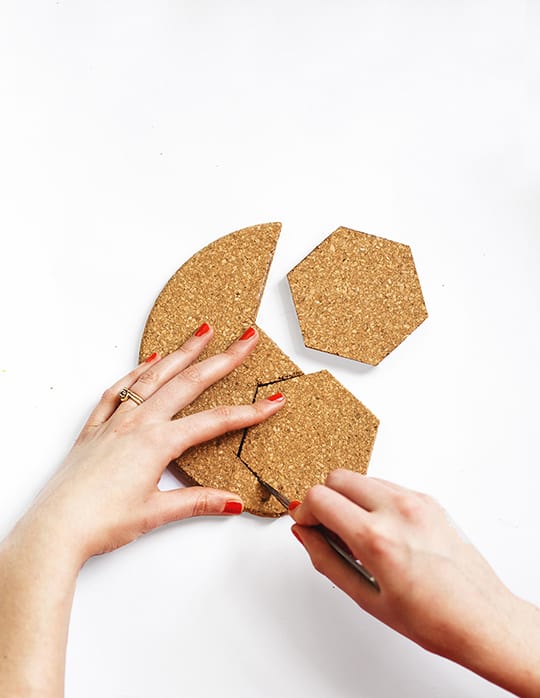
Now cut the hexagons out using the scalpel / craft knife, one by one. Make sure the blade is sharp otherwise you’ll get rough edges.
Now mask off an area that’s equivalent to a third of the hexagon with the washi tape. Follow the photo, taking the tape from the outer points to the inner point. You can measure where the middle is to start with if you’d prefer.
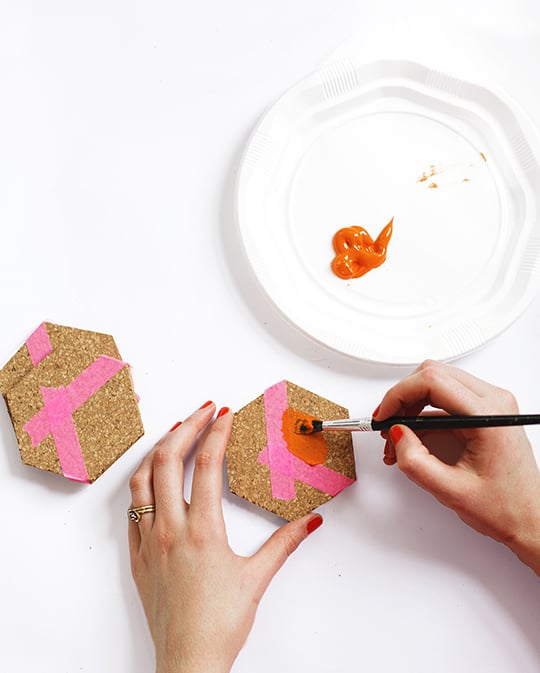
With this shape taped out you can get painting the third of the hexagon that’s exposed. You will more than likely need two coats to get a vibrant color but make sure you leave each coat to dry before applying the next.
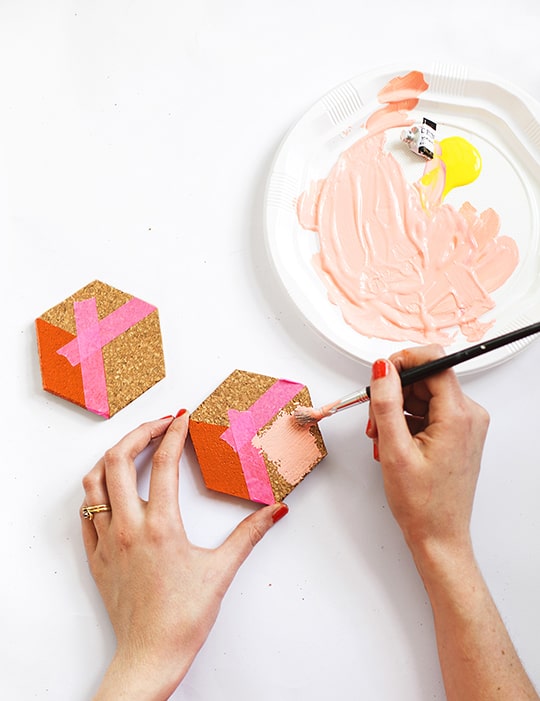
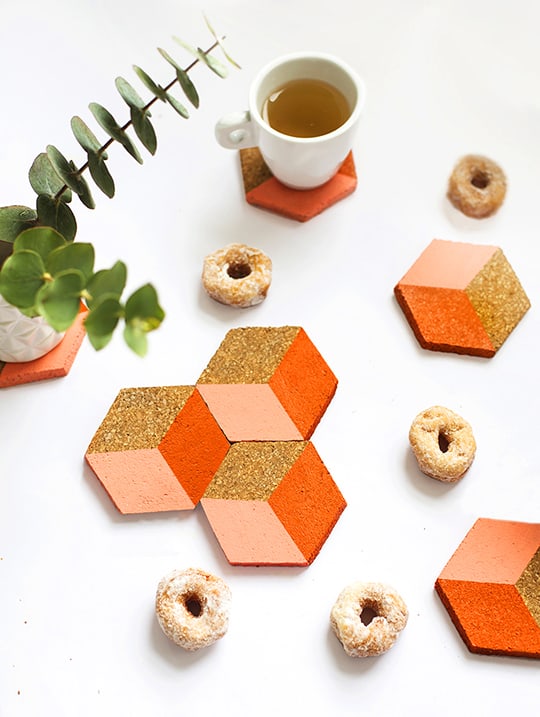
Remove the the tape once dry and then mask out another third with some more tape. If you make sure that each color stays on the same side of the shape then the colors will fit together perfectly. I kept the peach on the left and the orange on the right. You’ll need two coats of paint to fill in this second shape on each too.
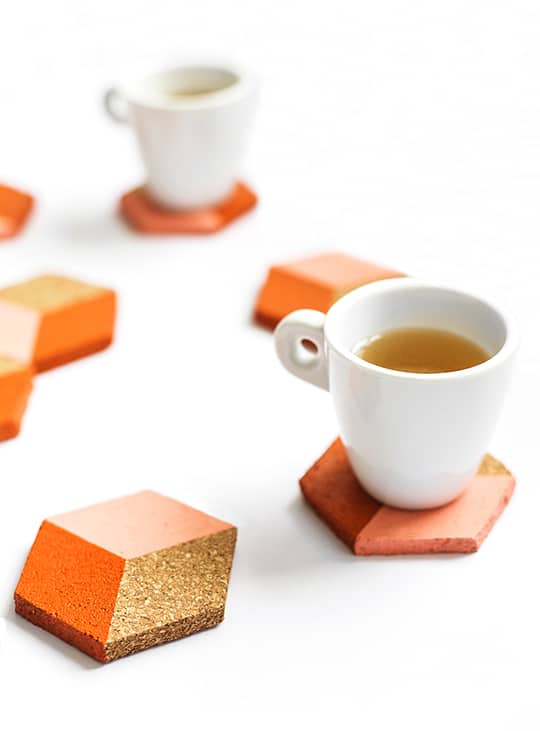
Once totally dry peel away the second lot of tape and there you have a new set of geometric tessellating coasters!
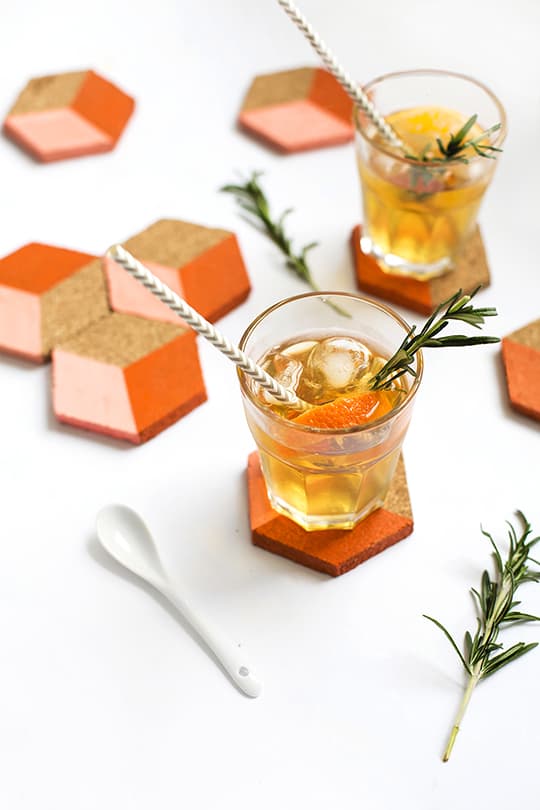
For extra protection you could apply a coat of clear matt mod-podge but it isn’t essential. Now that you’re swimming in colorful coasters, get them out on the table and dotted around your home to save your surfaces.
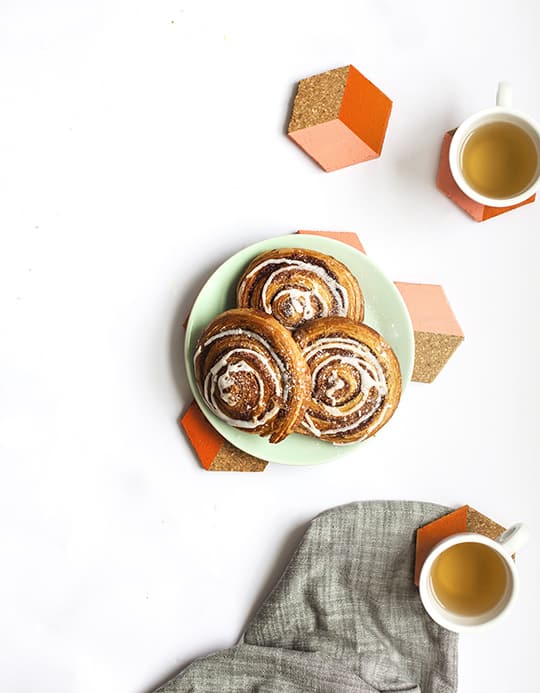
Nearly every surface in my apartment is white so I’m looking forward to putting these to good use and no longer having rim marks glaring back at me. The perils of a love affair with white!
Pre-warning; your kids may well steal coasters if they get ahold of them as thinking about it, they look like a pretty fun game through the eyes of a 3 year old. If they go missing you know where to look first. That advice is for free ;)
What is your go to homemade hostess gift? Let me know in the comments!

Teri is a designer, illustrator, stylist, crafter. Originally trained in print and surface pattern design, she has since had five years experience designing in-house for a greetings card company, and now creates The Lovely Drawer full-time from her little London flat.
Original article and pictures take sugarandcloth.com site
Комментариев нет:
Отправить комментарий