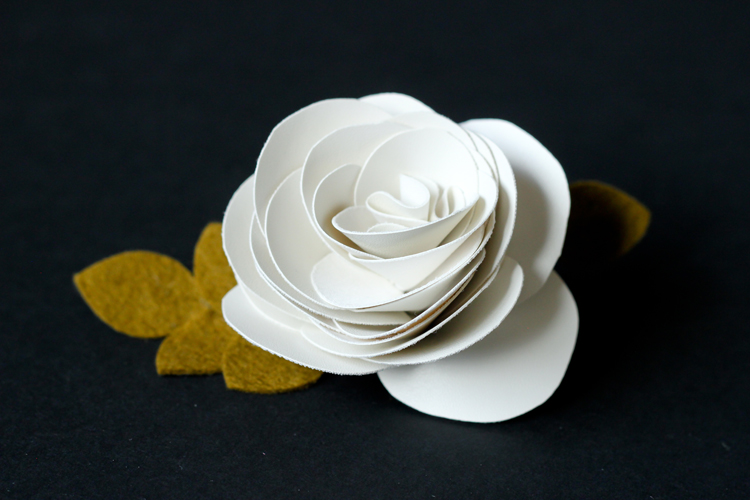
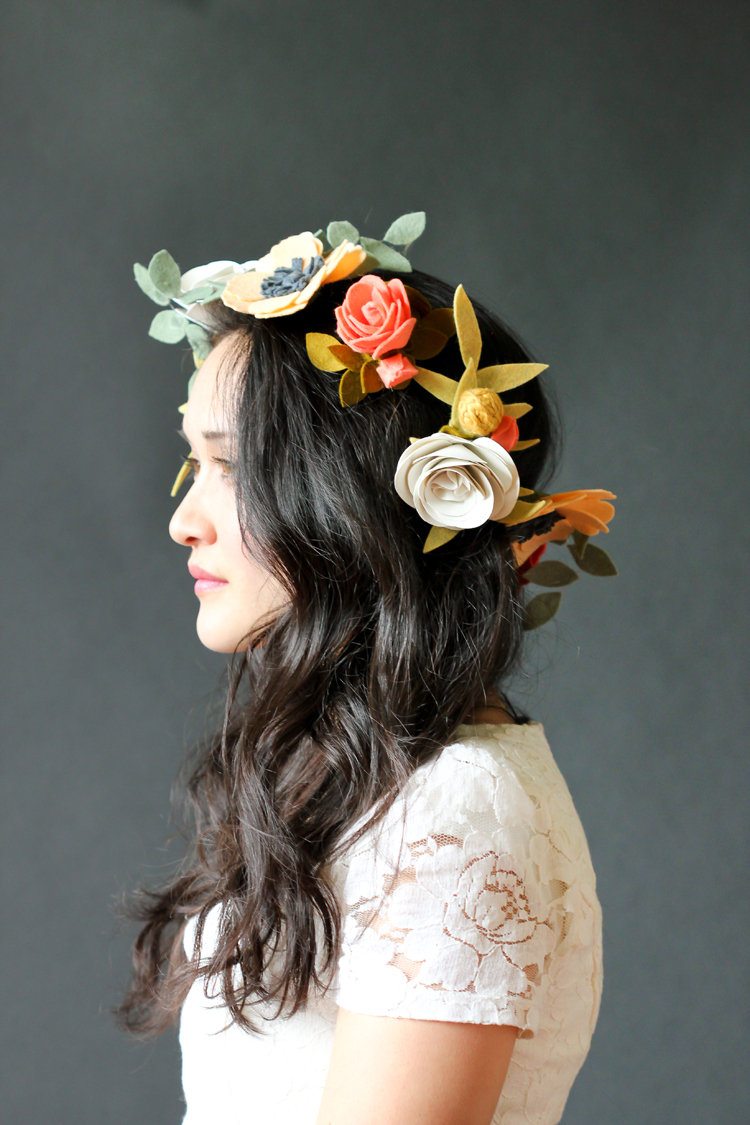
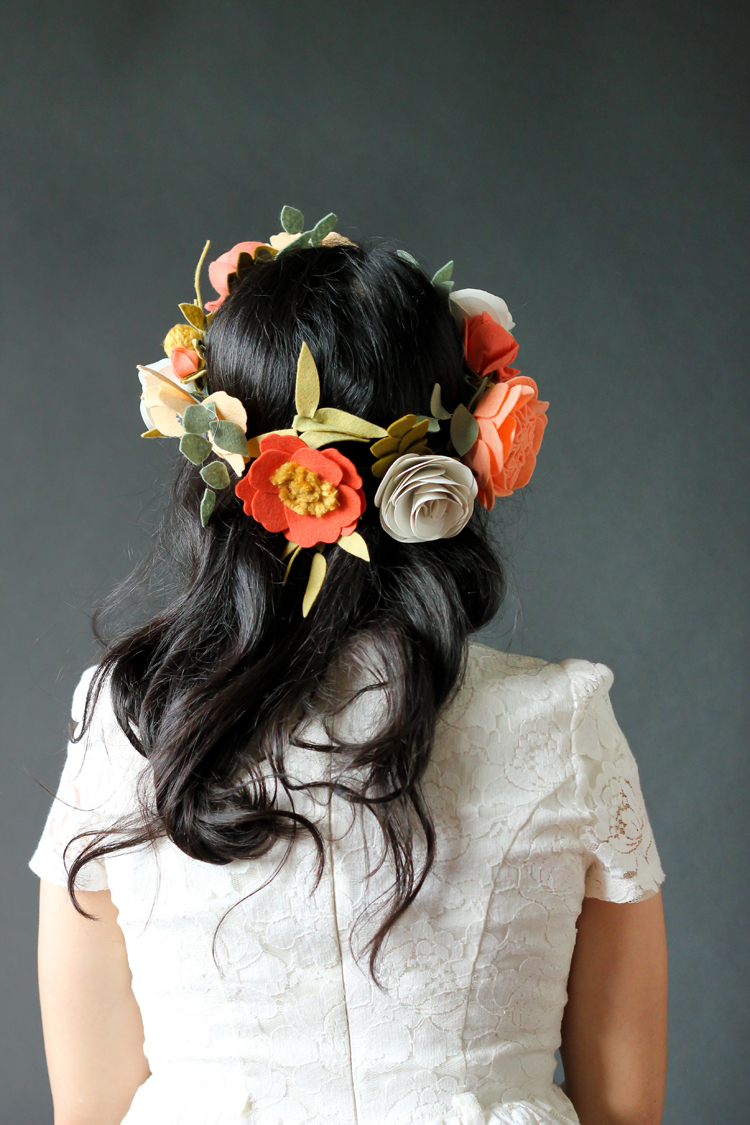
Today, I’m sharing all the details from my felt flower crown from yesterday!
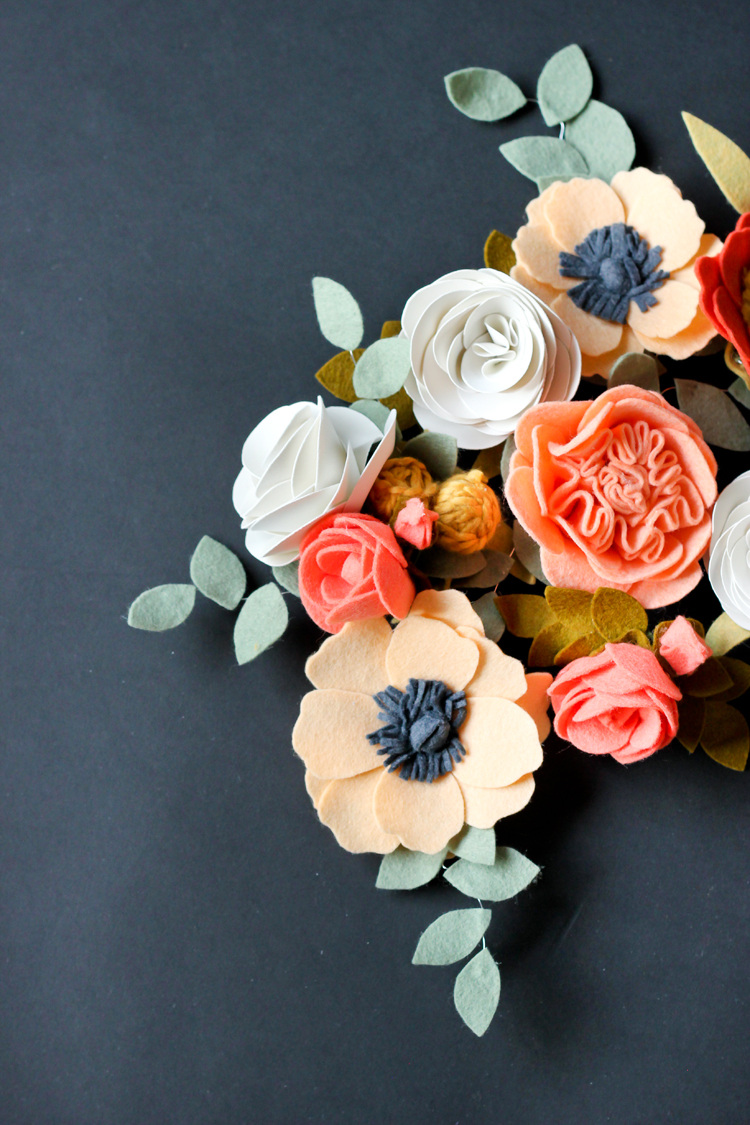
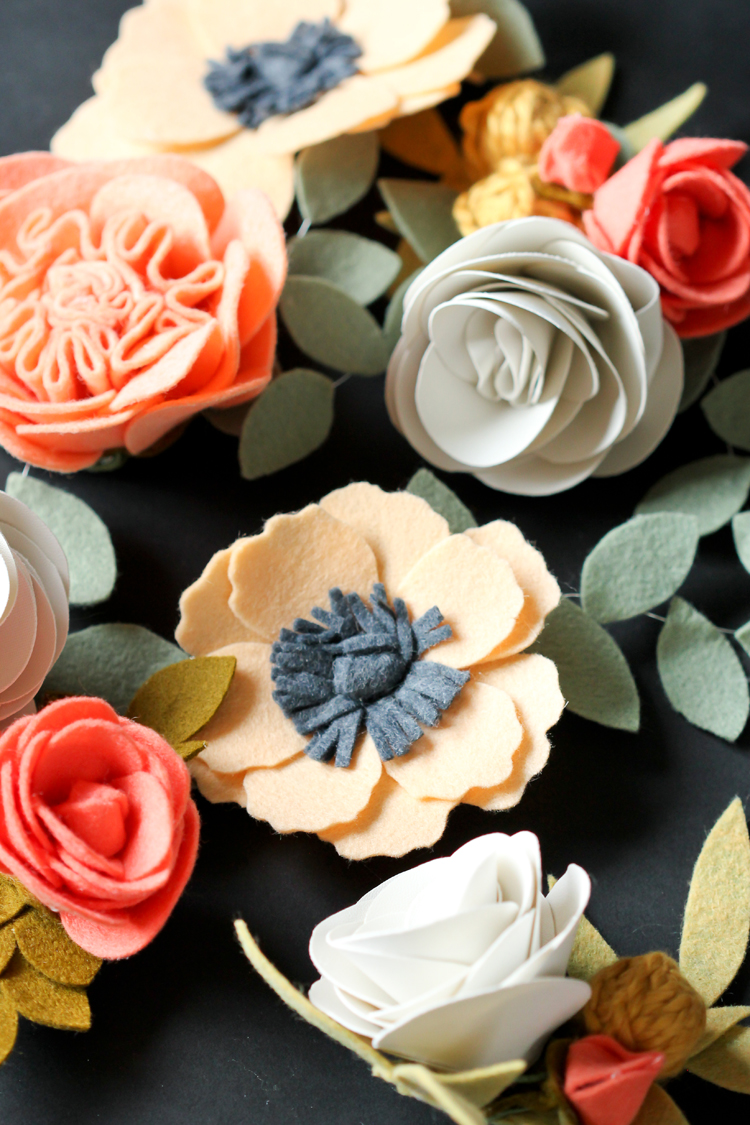
I mostly used tutorials from Something Turquoise who was my original inspiration for this project. I just love how pretty and artistic her flowers came out and wanted to make some too!
Felt flower making can be admittedly a pretty time consuming craft, but I also think it’s worth it. The more time and attention I took, and the more details I tried to add to the flowers, the more satisfied I was with the outcome. So my tip is to not cut corners! You will be a lot happier with your flowers if you take your time and pace yourself.
It probably took me about three nights and a nap time to get these all done. I found that it was a great way to unwind from the day. I’d put on a movie, plug in my hot glue gun, and settle into my crafting happy place. :)
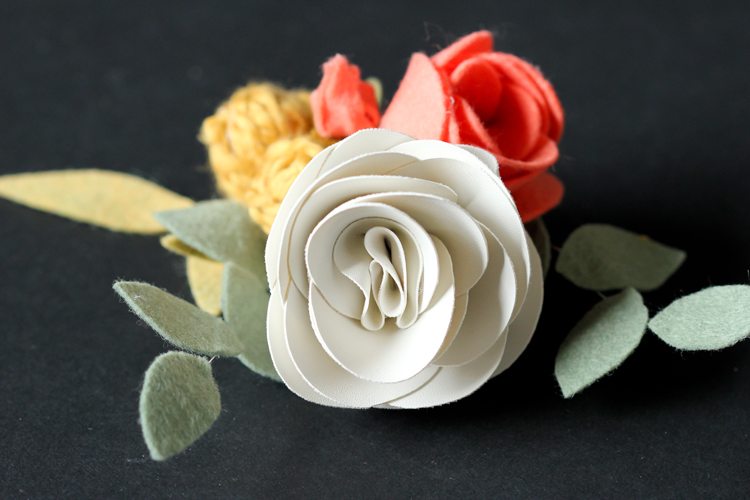
Here are the tutorials and materials break down for each of my flowers…
But first,
NOTE: Material links link to the felt bundles I purchased (but you can purchase individual sheets). See color swatch pictures and enlarge them to find colors by name. (This post is not sponsored.)
Tip: Don’t skimp on the felt. Using a wool felt or a wool blend felt yields noticeably prettier results, so I highly recommend splurging a little. Not only is the look and feel better, but you get a better choice of colors. It’s definitely worth it! :)
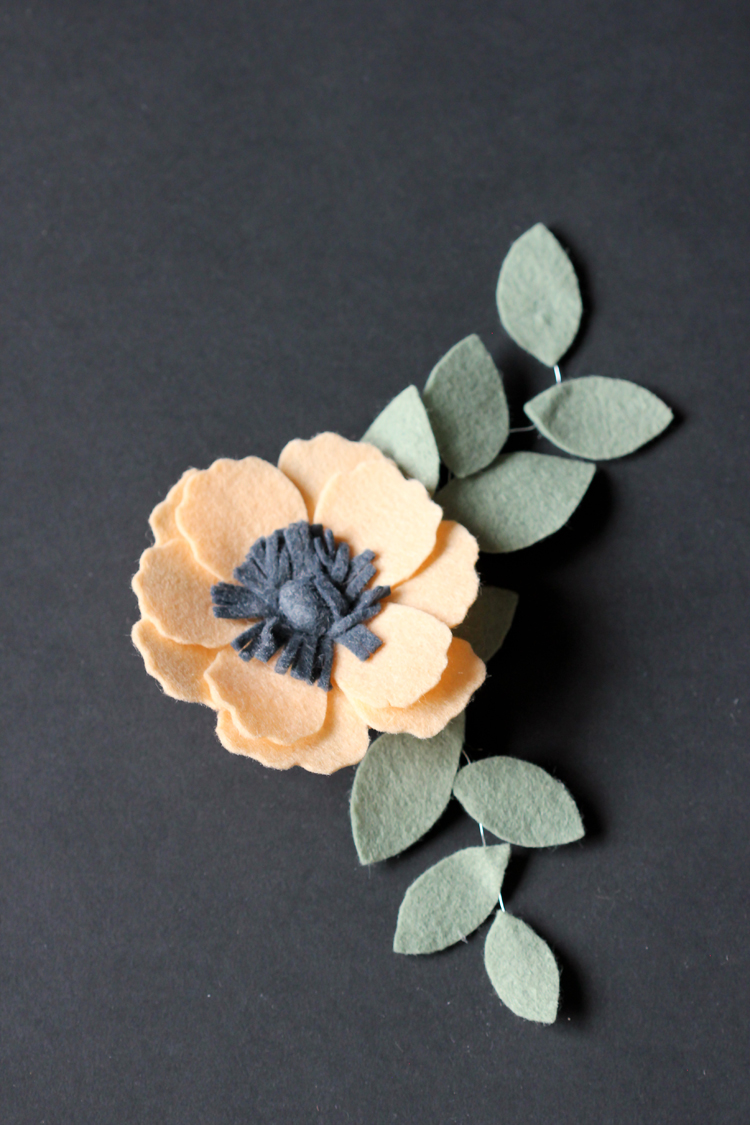
PEACH AND GRAY ANEMONE
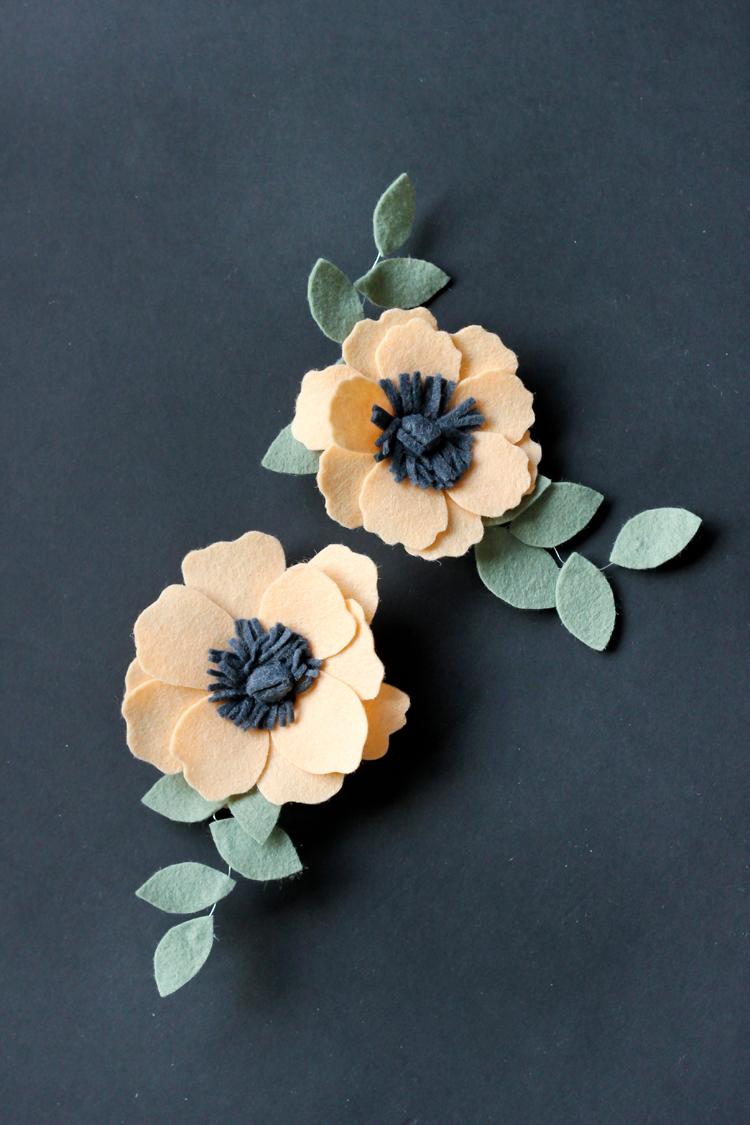
Tutorial: Felt Anemone tutorial from Something Turqouise (flower), Eucalyptus Leaves tutorial from Something Turquoise (leaves).
Changes to the tutorial: Instead of keeping the ends of the petals smooth, I cut them with an irregular wavy pattern. I didn’t have felt balls for the centers, so I tied a 3/8″ x 3 ” strip of charcoal felt into a knot and used the knot as the “ball and stem” to build the flower around.
*I would say I could get about 2-3 anemones out of one sheet of felt, and and about 4-5 leaf stems out of one sheet.
CORAL AND YELLOW ANEMONE
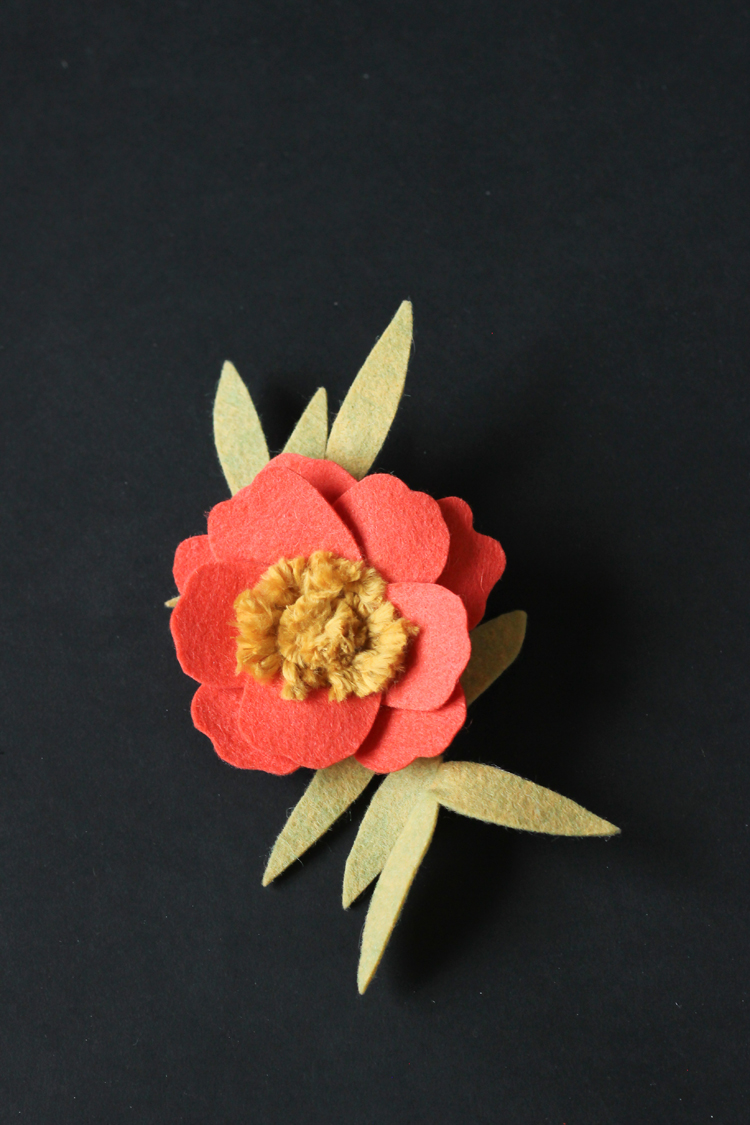
Tutorial: See my Felt and Yarn Anenome tutorial (flower). It is similar to the Peach Anemone but with changes to the center and petals. Eucalyptus Leaves tutorial from Something Turquoise (leaves).
Felt and Yarn: Shrimp (petals)…I was notified by the seller who updated her inventory to let me know that it has been replaced by a very similar color listed as “coral”, Lemon Lime Twist (leaves), Nature’s Choice Organic Cotton Yarn in mustard (center).
*I would say I could get 2 anemone flowers out of one sheet of all wool felt, and 4-5 leaf stems from one wool blend sheet (the 100% wool sheets are a little smaller than the wool blends).
PINK CABBAGE ROSE
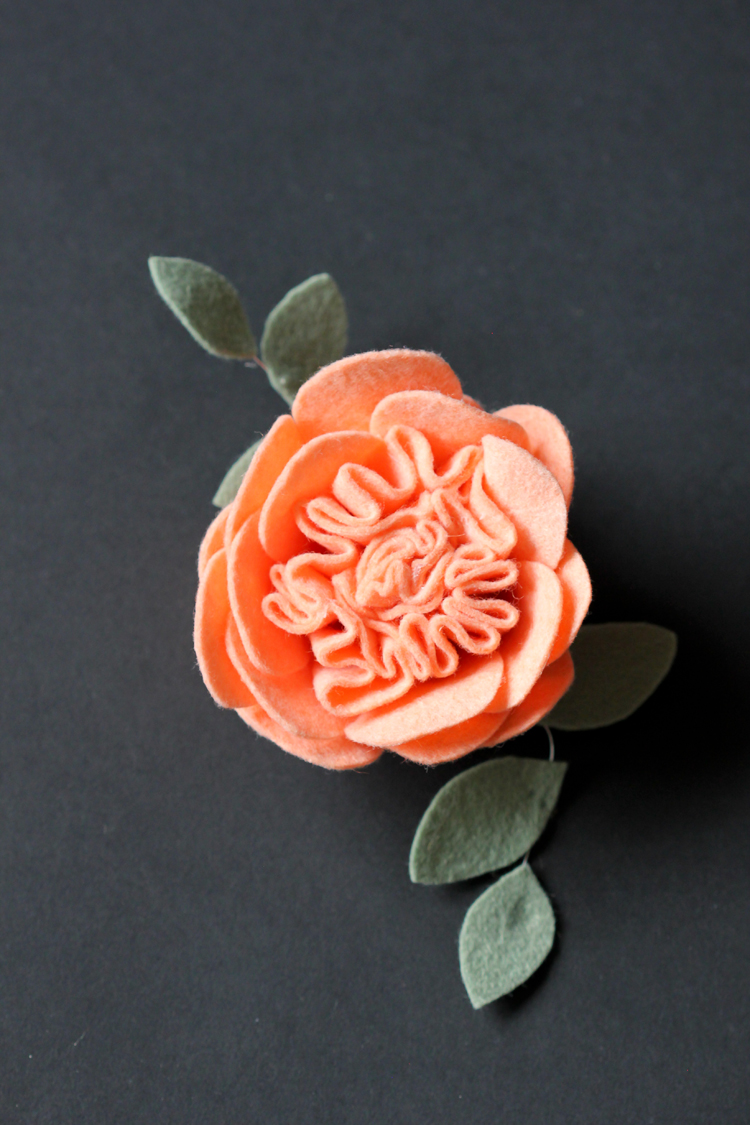
Tutorial: Felt Cabbage Rose Tutorial from Something Turquoise (flower), Eucalyptus Leaves tutorial from Something Turquoise (leaves).
Felt: Melon (flower), Loden (leaves).
*One cabbage rose takes almost a full sheet of felt.
PINK ROSE
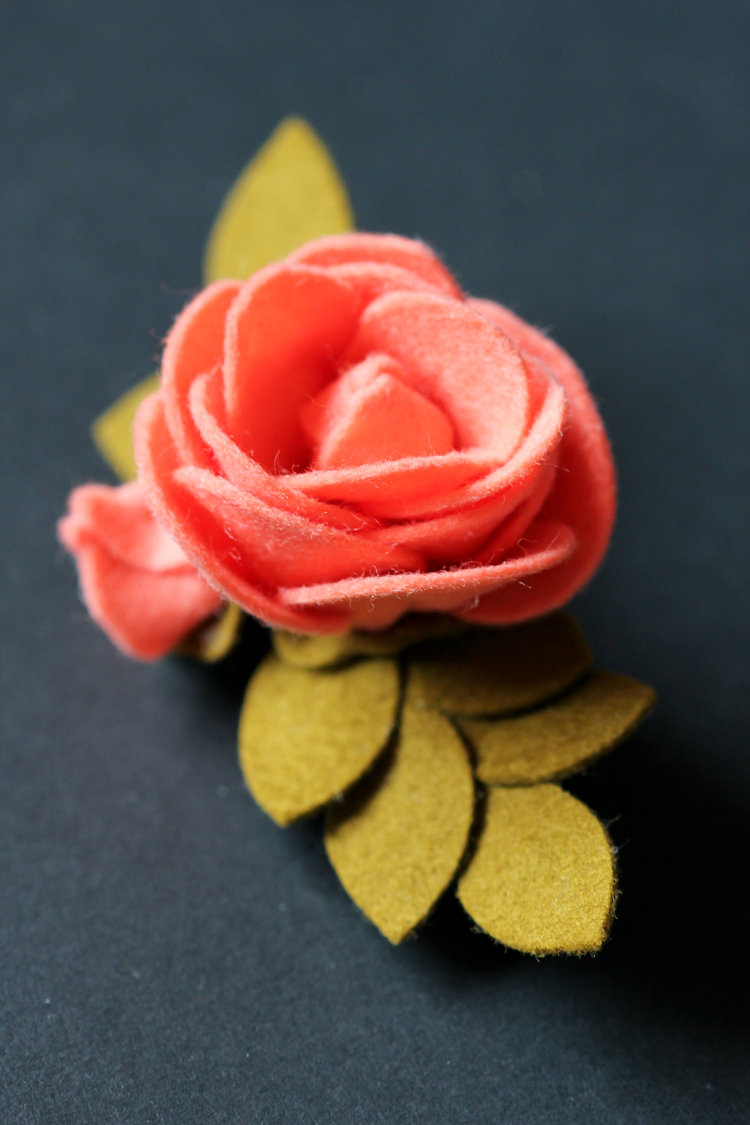
Tutorial: Rose video tutorial (flower), Ranunculus tutorial from Something Turquoise (bud tutorial), Eucalyptus Leaves tutorial from Something Turquoise (leaves).
Changes to tutorial: I used a hot glue gun for the rose, instead of fabric glue. I nested the leaves closer together on the wire for the leaf stems.
Felt: Pink Grapefruit (petals), Raw Umber(leaves).
*I would say I could get about 2-3 roses out of one sheet of felt, depending on how big I decided to make my roses and whether I was using the slightly smaller all wool sheets or the 8.5 x 11 inch sized wool blend sheets.
WHITE RANUNCULUS
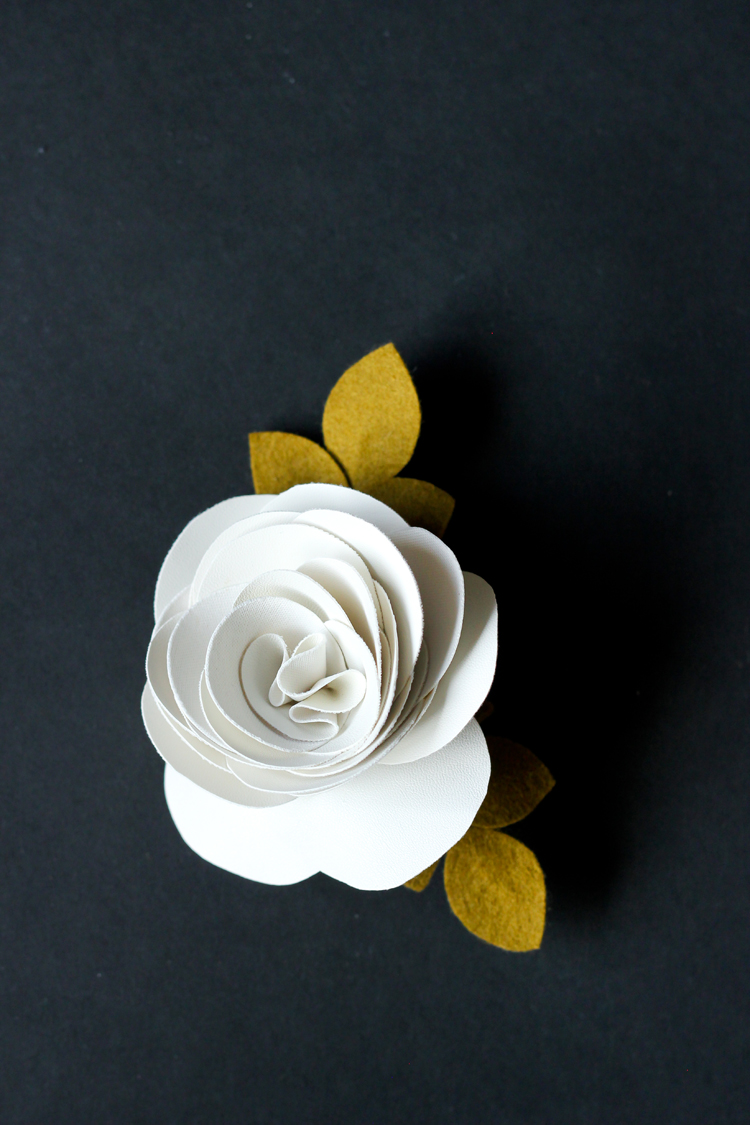
Tutorial: Ranunculus tutorial from Something Turquoise, Eucalyptus Leaves tutorial from Something Turquoise (leaves).
Changes to the tutorials: I used white vegan leather for the ranunculus petals instead of felt and I used a lot more petals than the felt version. I nested the leaves closer together on the wire for the leaf stems.
Felt and materials: Ivory vegan leather from Girl Charlee (petals), Raw Umber(leaves).
* I probably used a 1/4 of a yard worth of vegan leather scraps to make all three ranunculus flowers.
ROSE BUNDLE
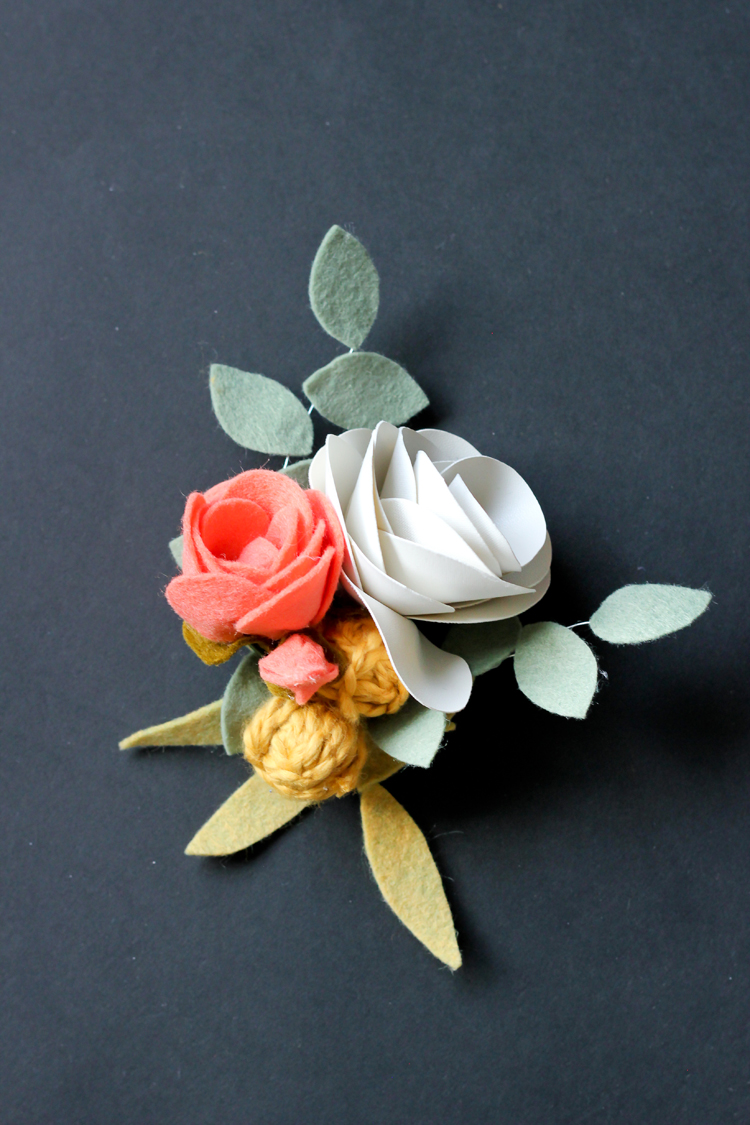
After making some single flowers, I made a couple of bundles of flowers. This one consists of a pink rose, a white ranunculus, varying eucalyptus leaves, and some billy balls (Tutorial HERE).
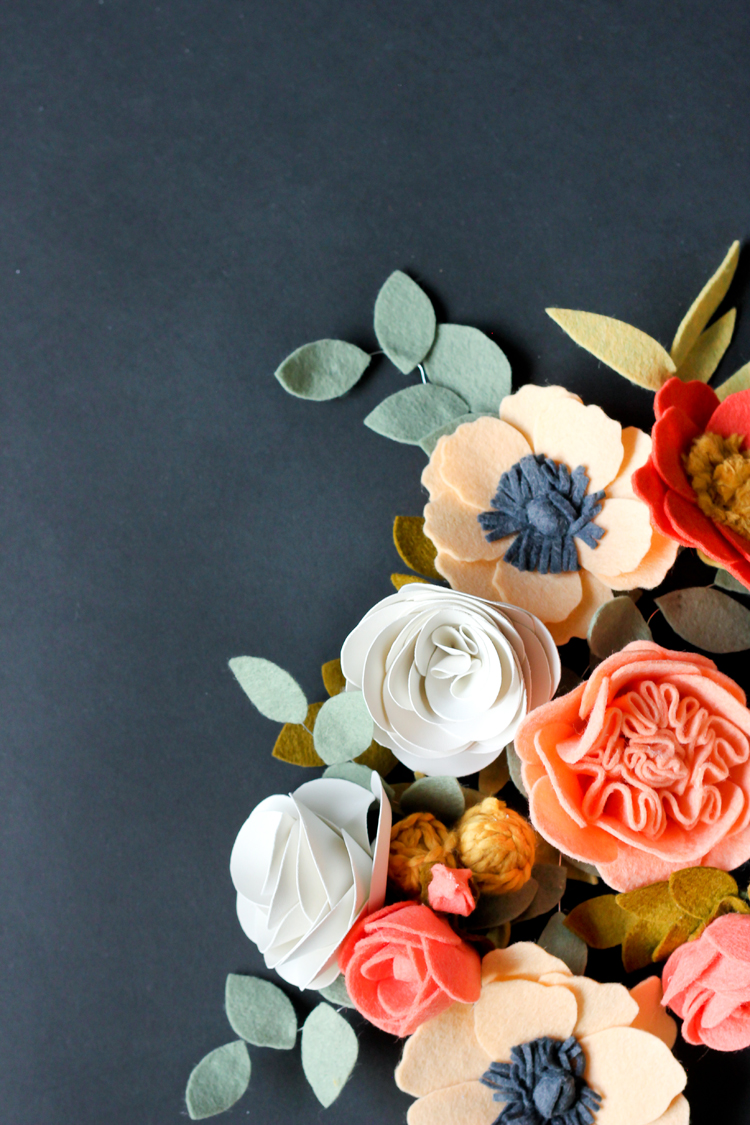
And here is a peek at the rest of the flowers and bundles all in one place…
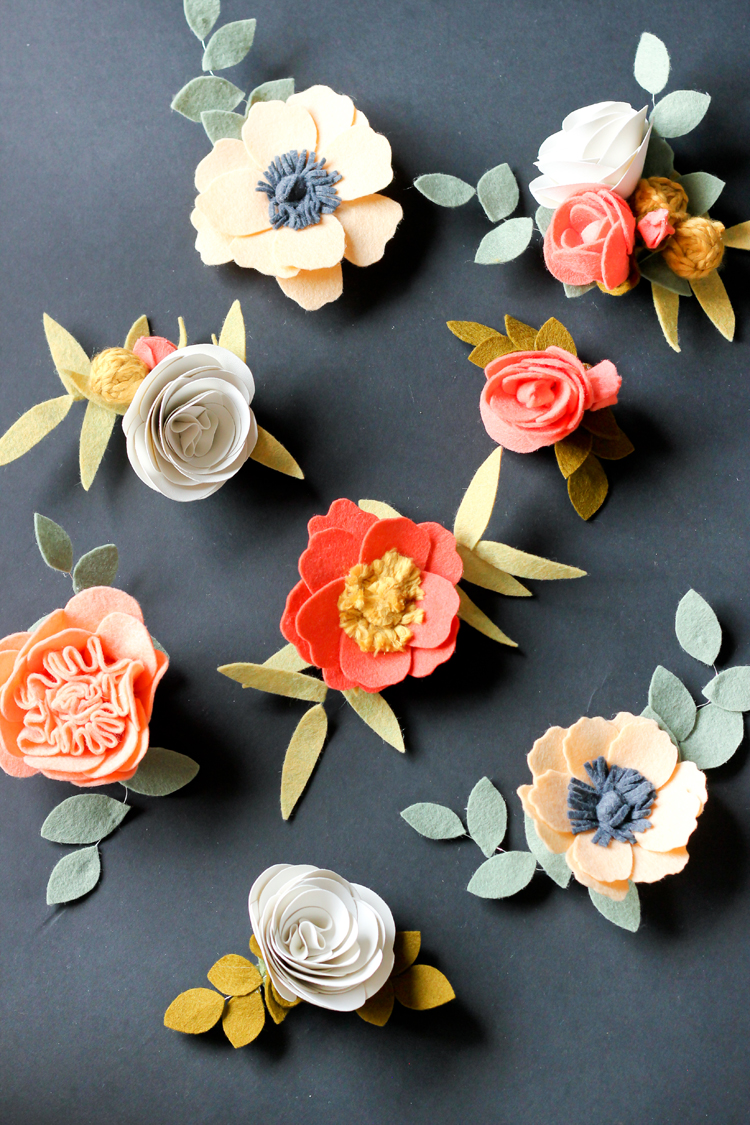
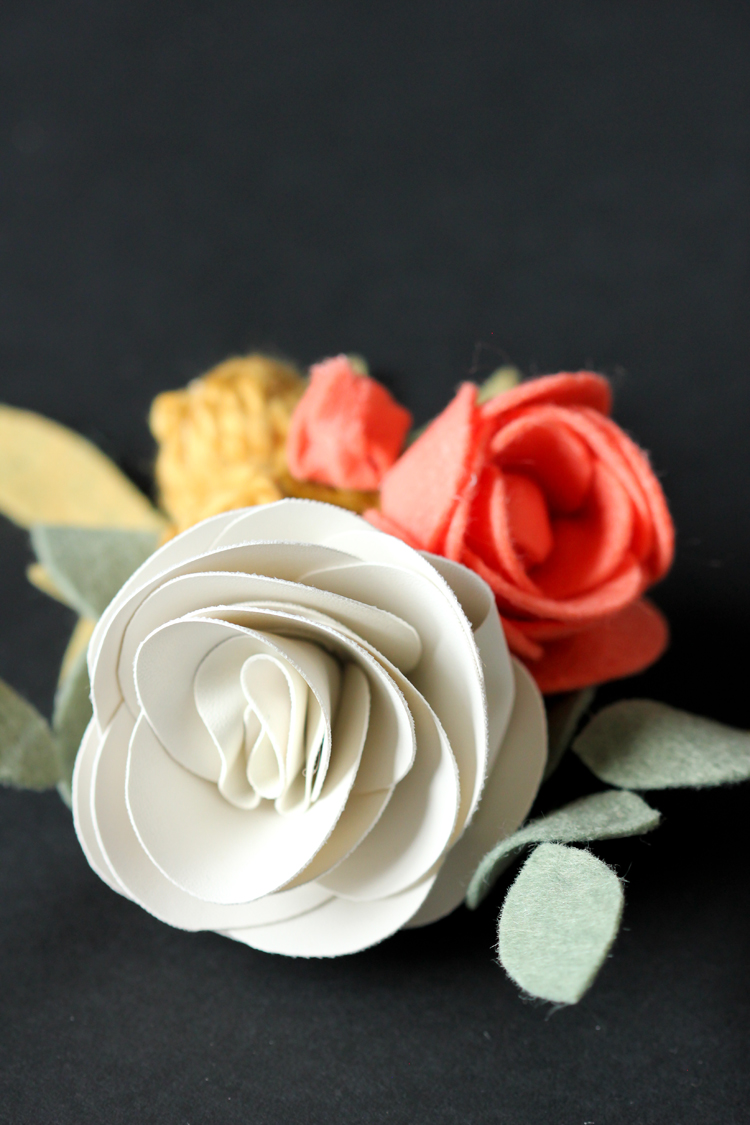
Once I was done making flowers, I added clips to all the backs.
FLOWER CLIP TUTORIAL

1. I cut the wires and stems down to about 1-2 inches from the base of the flower, and then curled the sharp ends under and toward the flower with pliers.
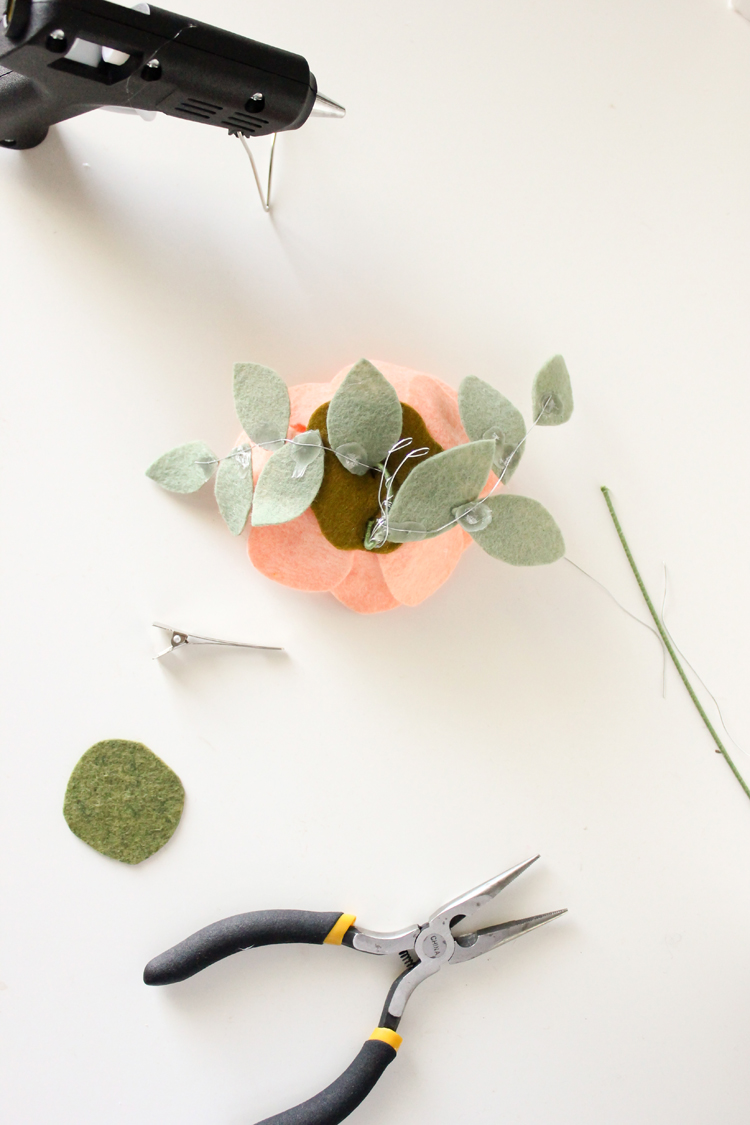
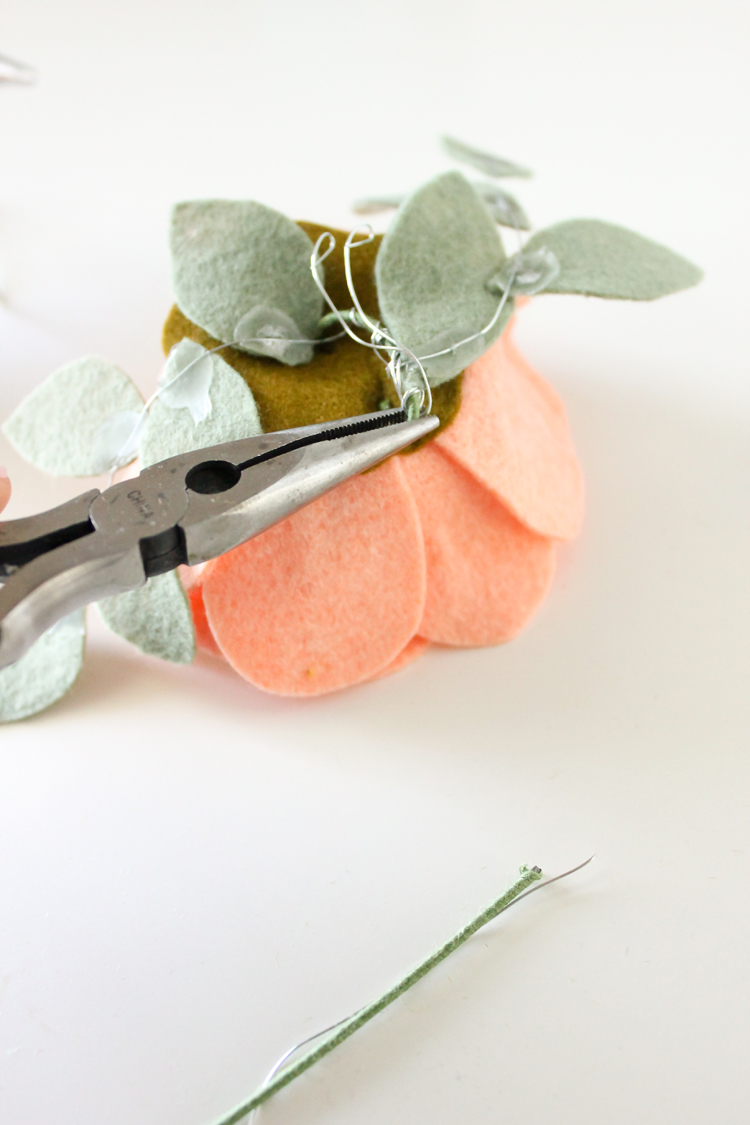
3. I cut a small slit close to one side and slid the alligator clip into the slit (I get my clips from Sally Hansen’s in a 100 piece box).
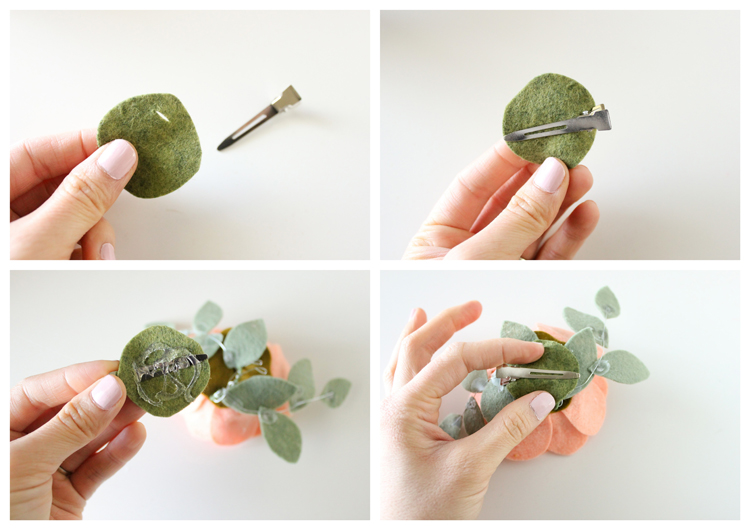
The felt circle conceals the messy backside/underside of the flower, while making the clip a little more securely attached.
That’s it!
Clip into hair or onto a wire crown.
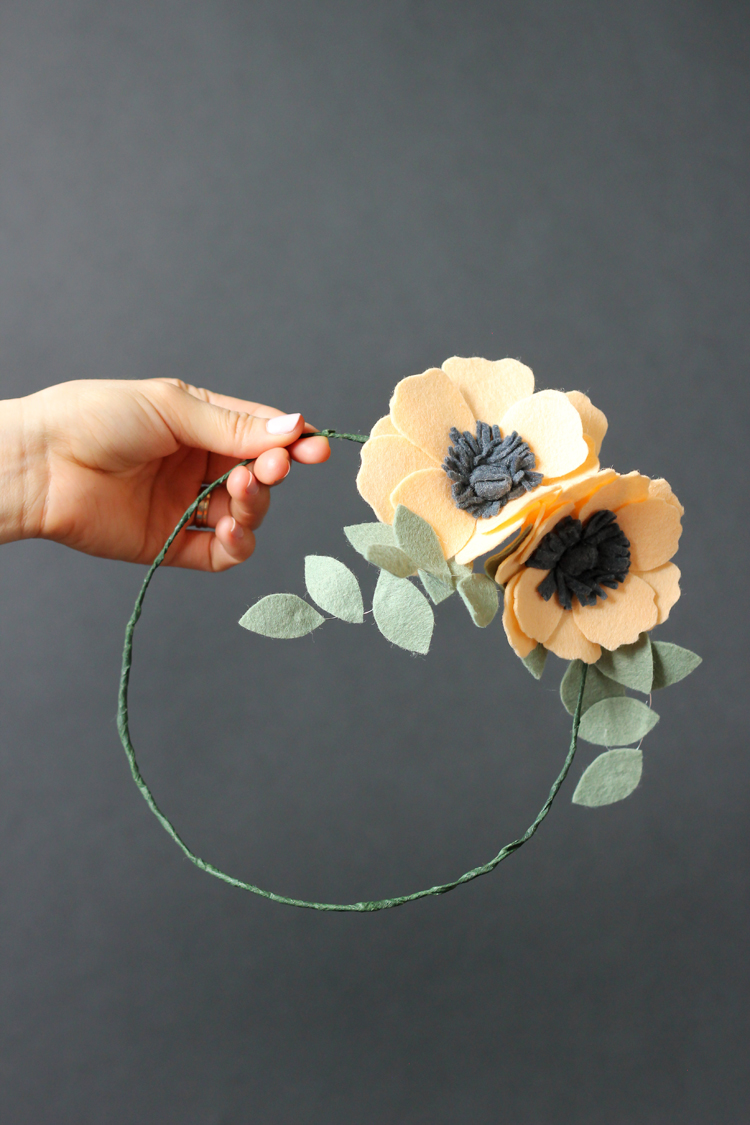
WIRE CROWN TUTORIAL
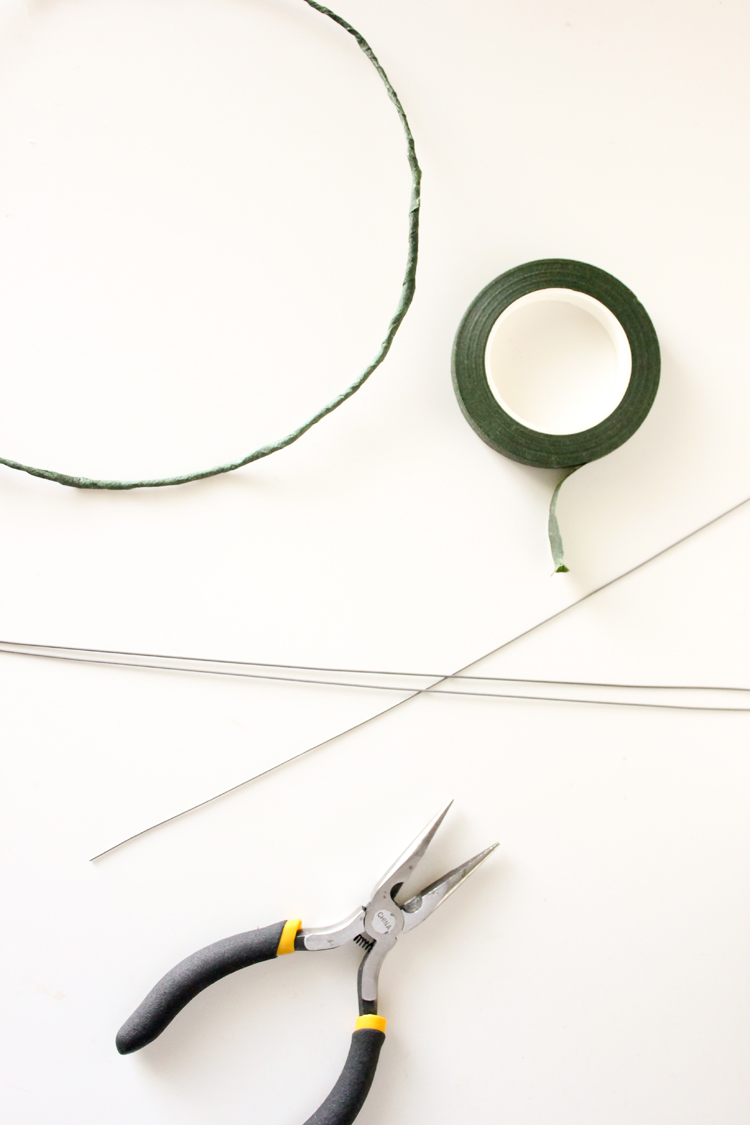
I made this wire crown with some 16 gauge wire pieces bent into a circle fit to my head. I overlapped the ends over each other and wrapped them securely while keeping the ends as flat and tight as possible. Then I simply wrapped it tightly with floral tape. Easy peasy.

I think that’s about it. If you have more questions, please comment and I’ll try to answer there! :)
Original article and pictures take www.deliacreates.com site
Комментариев нет:
Отправить комментарий